
Edward’s Guidebook
Figma MCP & Claude Code Setup
Created by @ux.edward·instagram.com/ux.edward
Install Figma MCP into Claude Code and Claude Desktop
Useful Links
Claude Code Documentation
https://code.claude.com/docs/en/overviewClaude Desktop
https://claude.com/downloadFigma MCP Documentation
https://developers.figma.com/docs/figma-mcp-server/remote-server-installation/#claude-code
Step by Step Setup
Step 1
Claude & Figma plans
Make sure you have Pro plans for Claude & Figma.
 Claude Pro or Max
 Figma Professional Plan (or higher)
Step 2
Install Claude Code via Terminal
Run this command in your terminal:
curl -fsSL https://claude.ai/install.sh | bash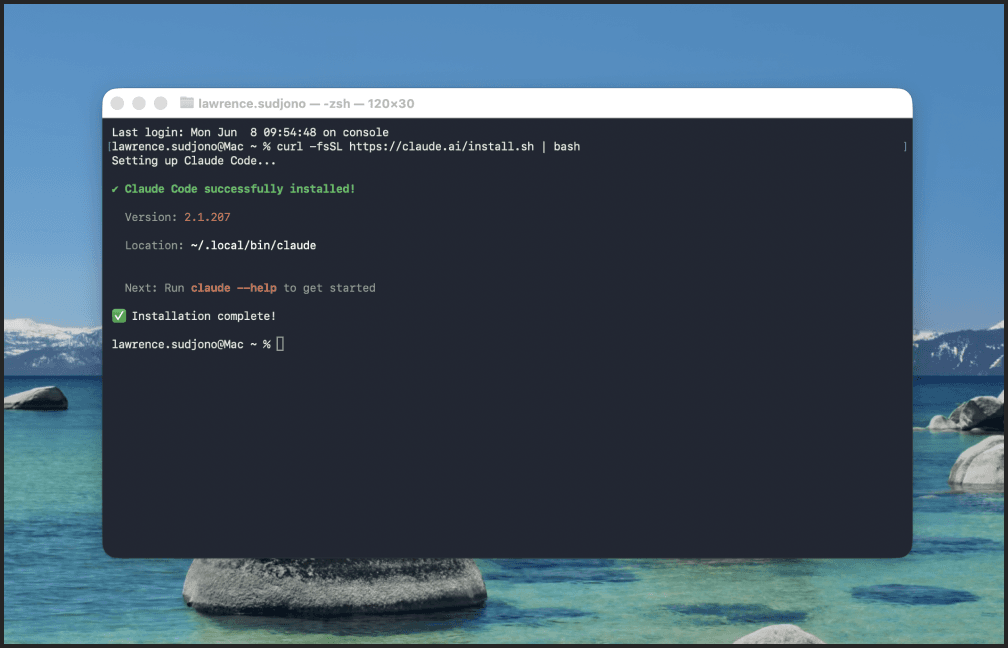
Step 3
Start Claude Code
To start Claude Code, run this command:
claude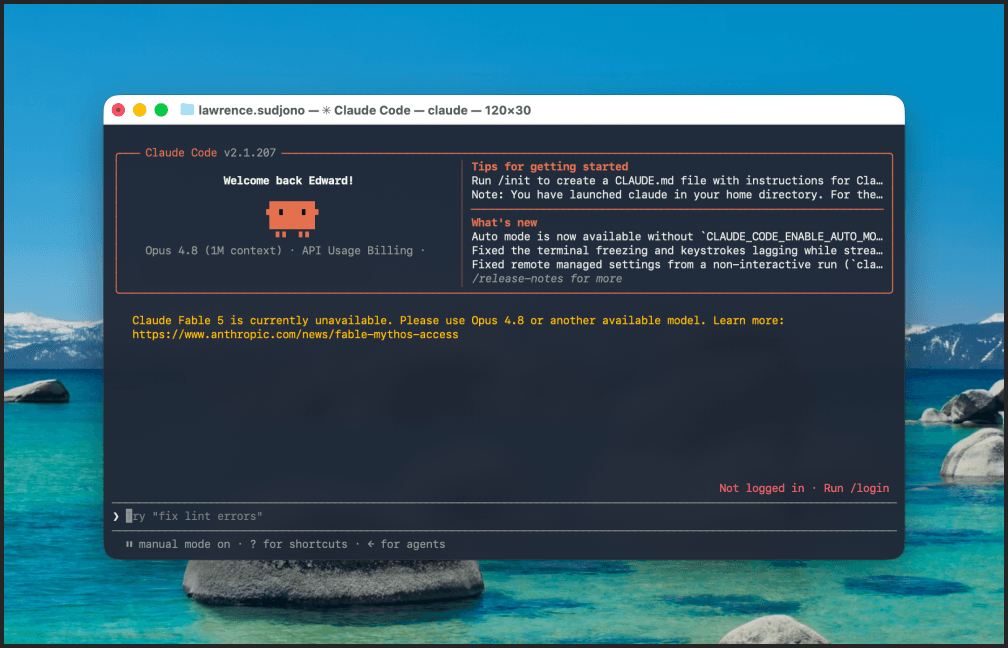
Step 4
Add Figma MCP
Run this command to add Figma MCP
claude mcp add --transport http figma-desktop http://127.0.0.1:3845/mcp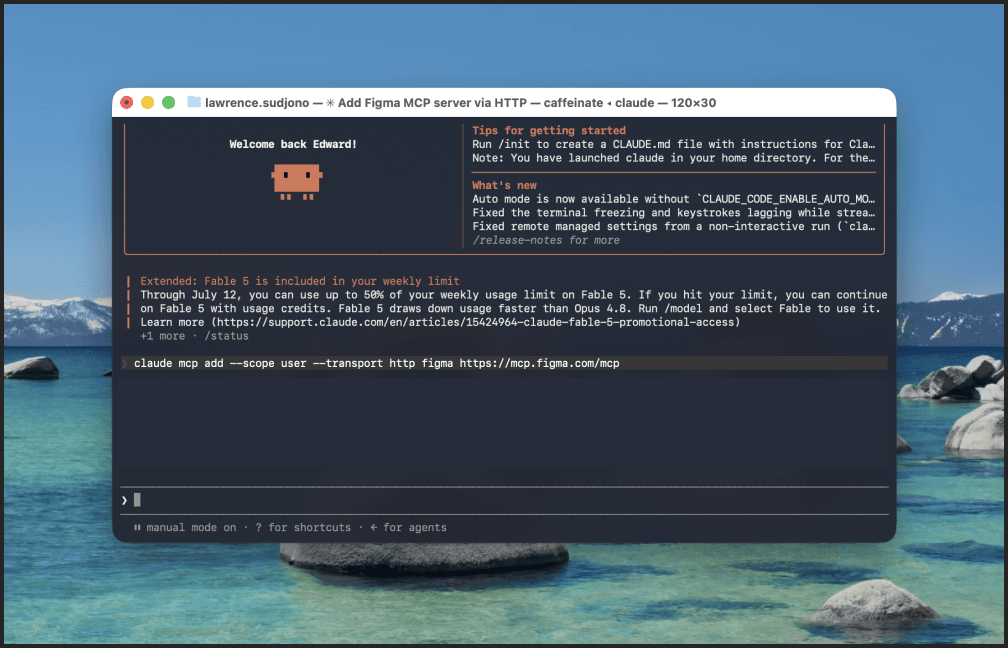
Step 5
Make Figma MCP available to all projects
Run this command to make Figma MCP available to all projects in Figma
claude mcp add --scope user --transport http figma https://mcp.figma.com/mcp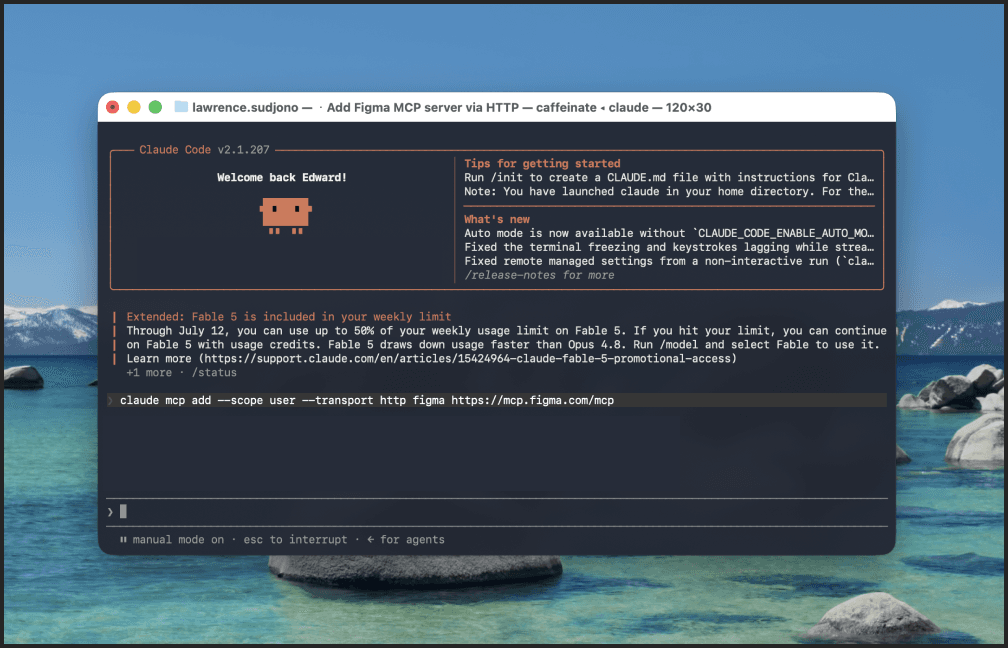
Step 6
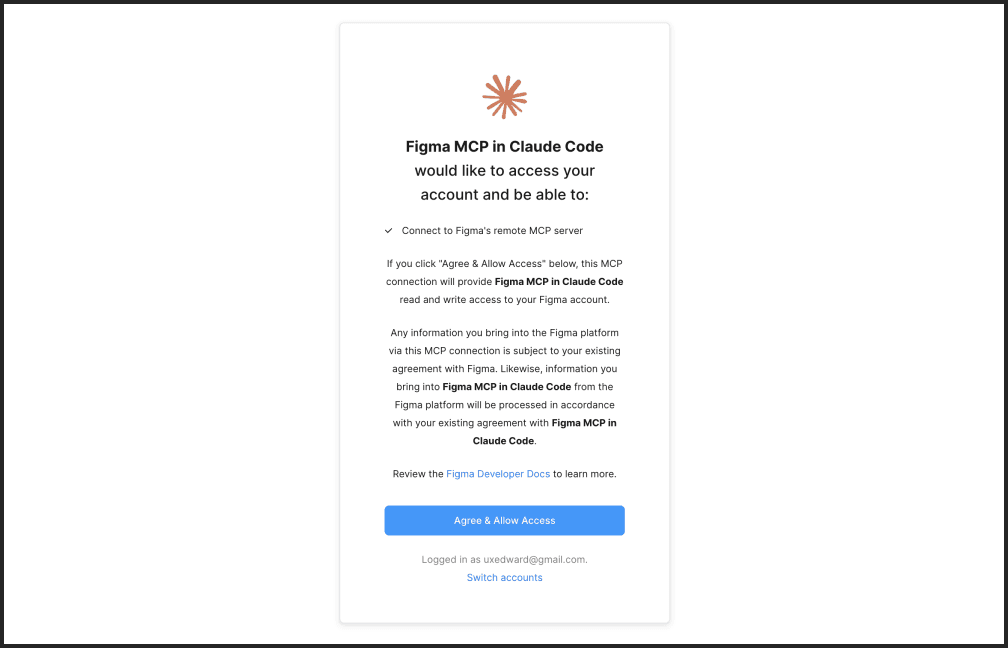
Authenticate Access
Authentication process will happen either directly or after you restart the terminal & Claude Code
Step 7
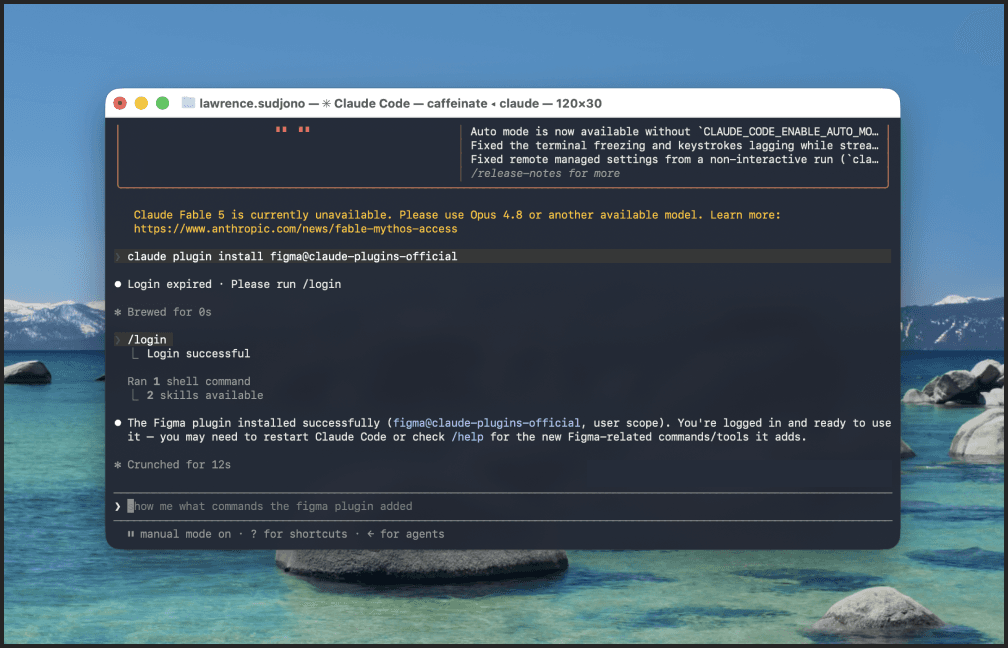
Confirm Terminal Install
Installed!
Restart Claude Code (if needed)
Step 8
Check MCP List
Run this command after running Claude Code
/mcp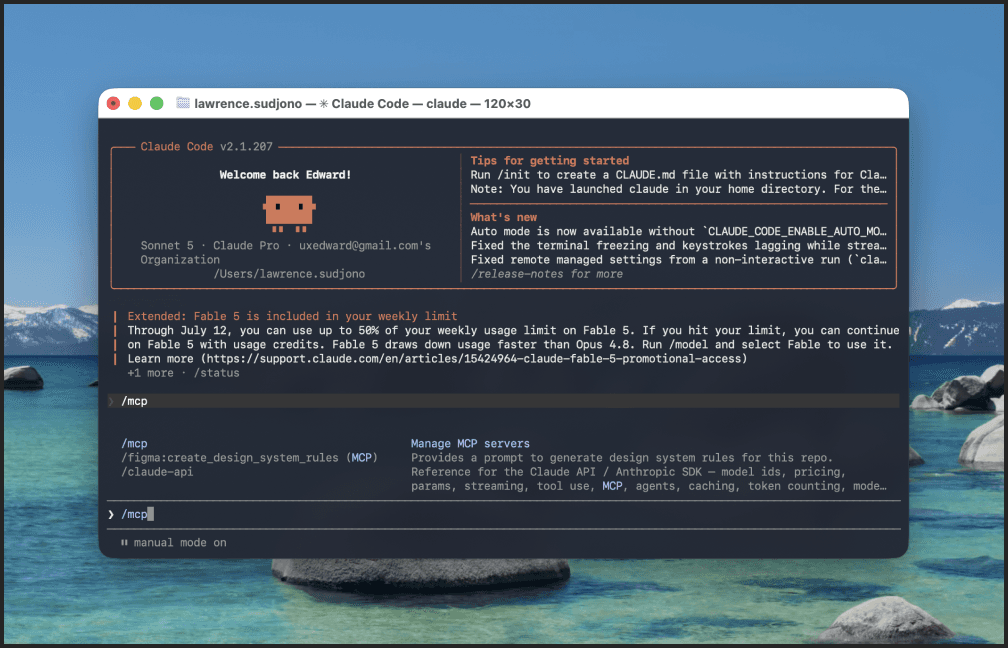
Step 9
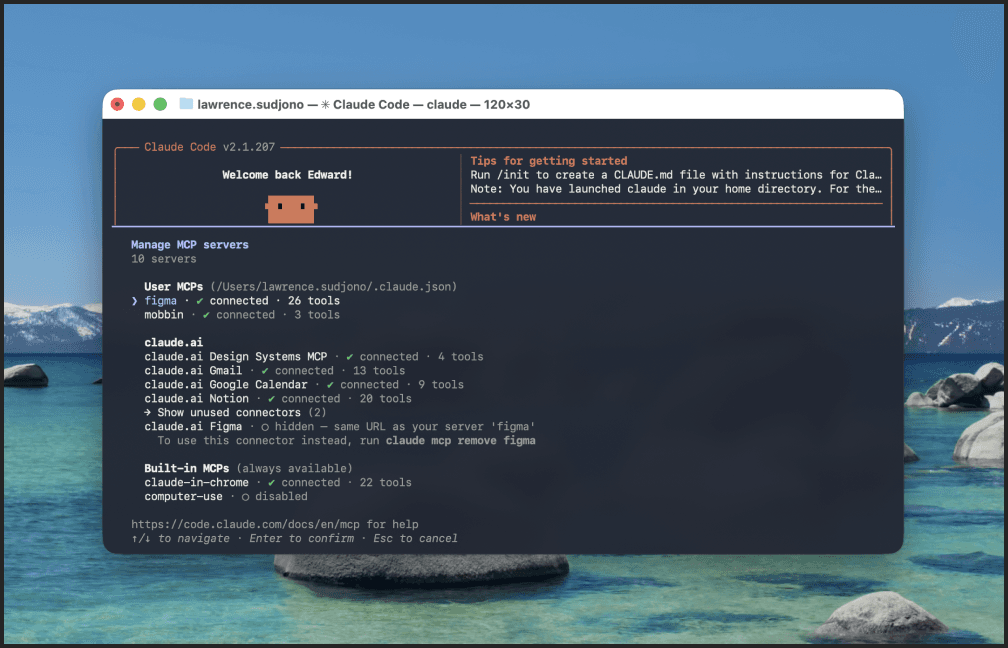
Confirm Figma MCP Connected
You will see “figma” MCP connected
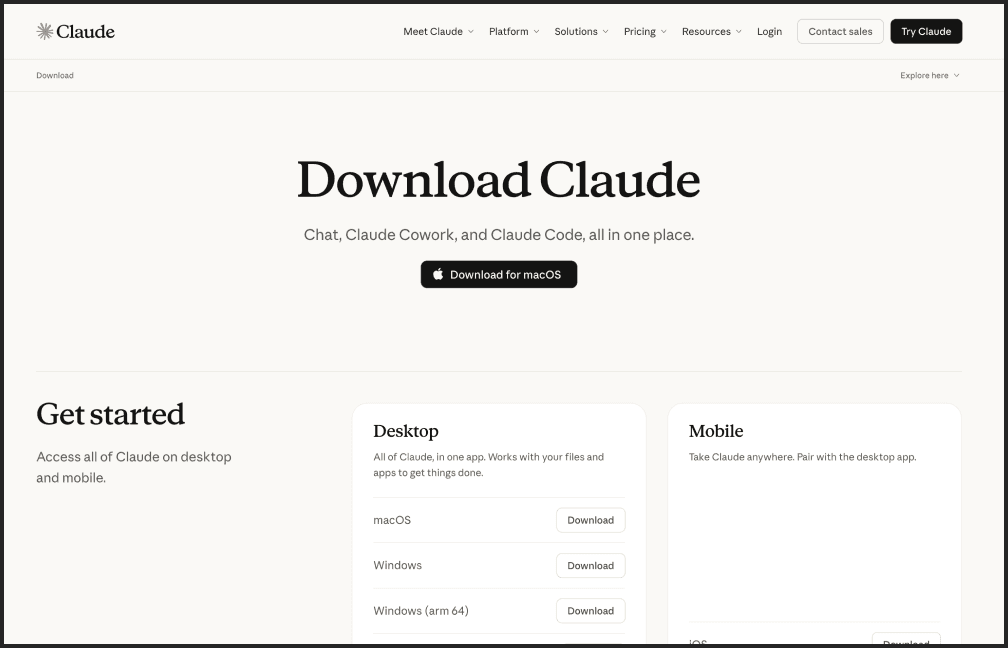
Step 11
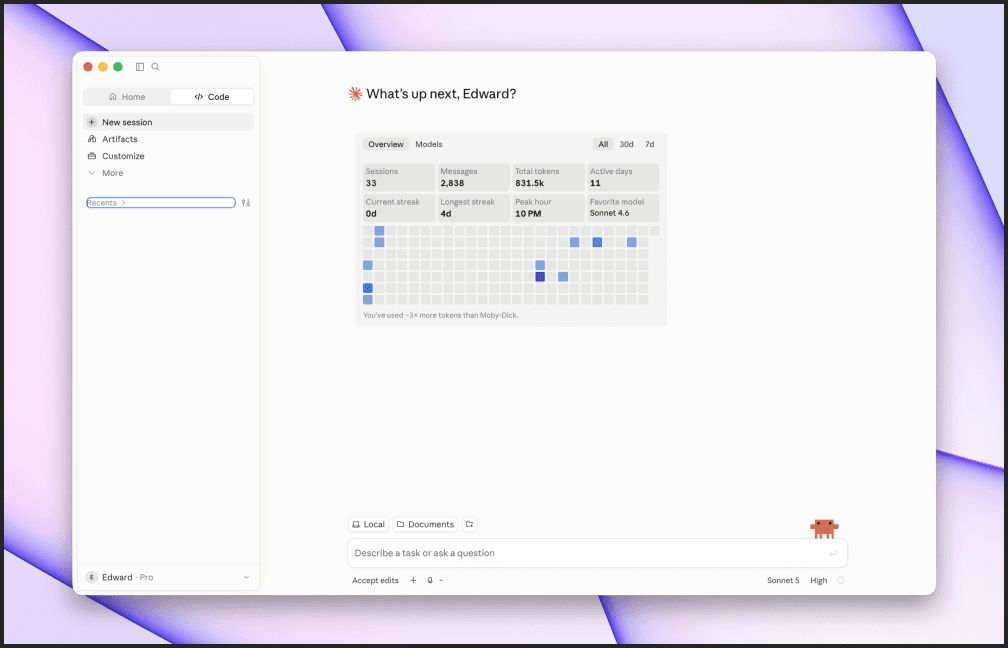
Open Claude Code in Desktop
You can open Claude Code on the top right
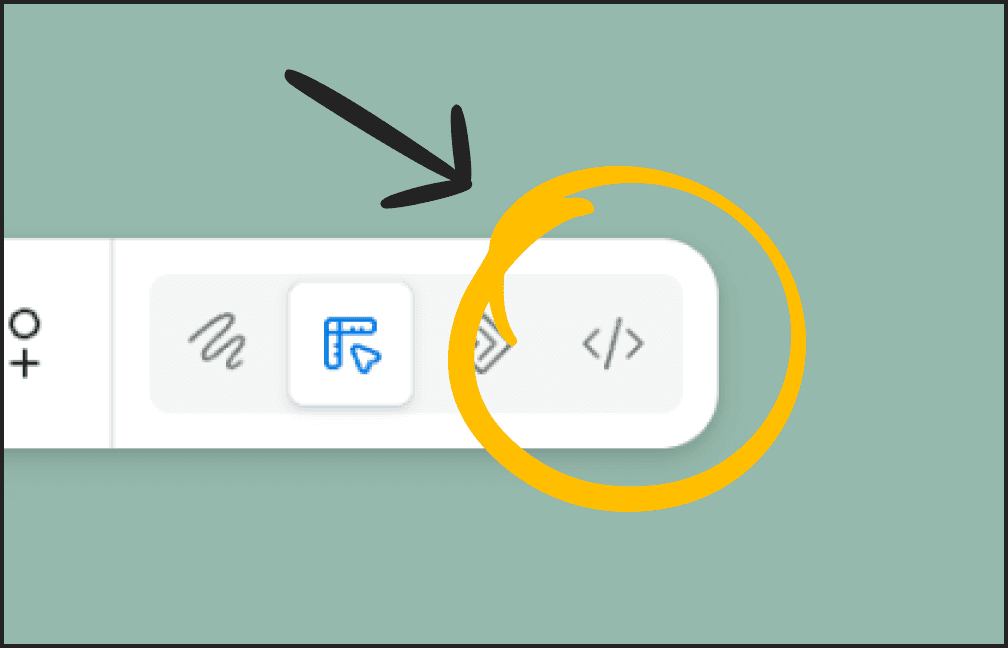
Step 12
Open Dev Mode in Figma
Go to the top right of Figma, and click on Dev Mode.
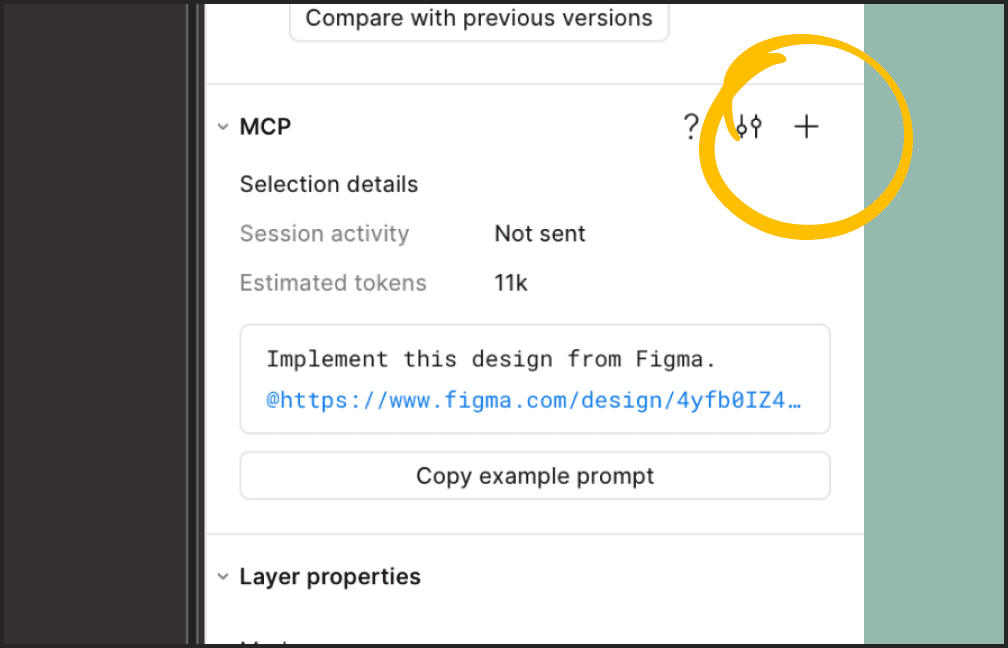
Step 13
Open the MCP panel
Click + in the MCP panel.
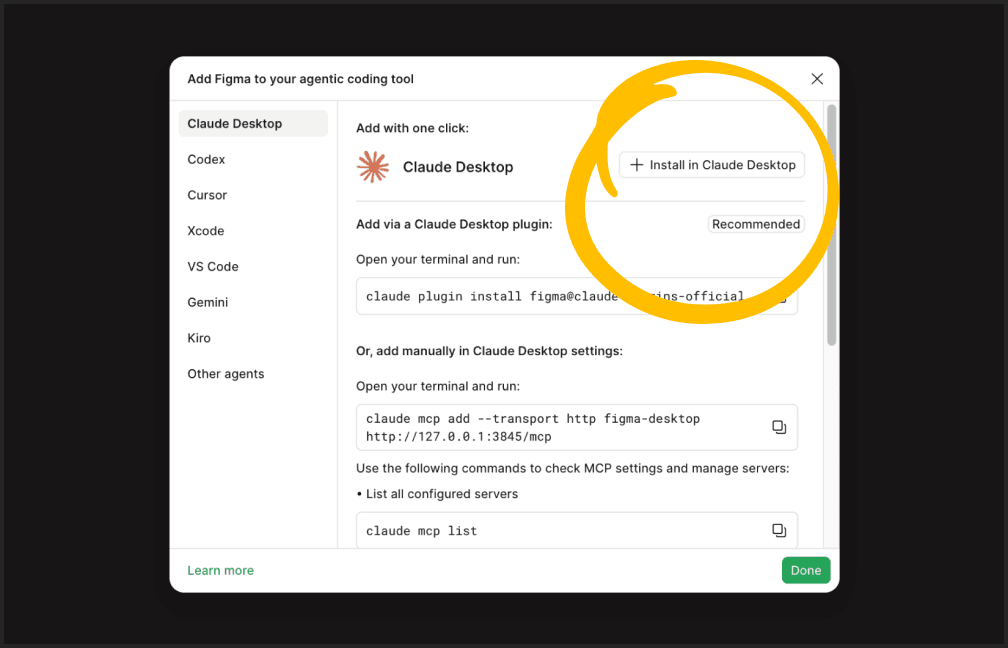
Step 14
Install in Claude Desktop
Click + Install in Claude Desktop.
Step 15
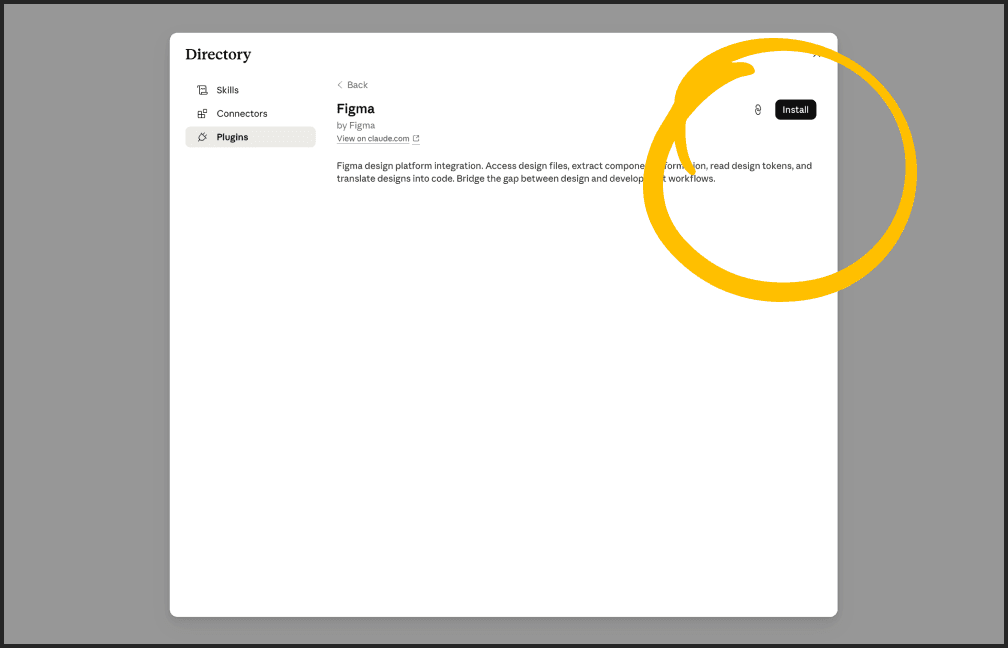
Install the Figma plugin
Click Install.
Step 16
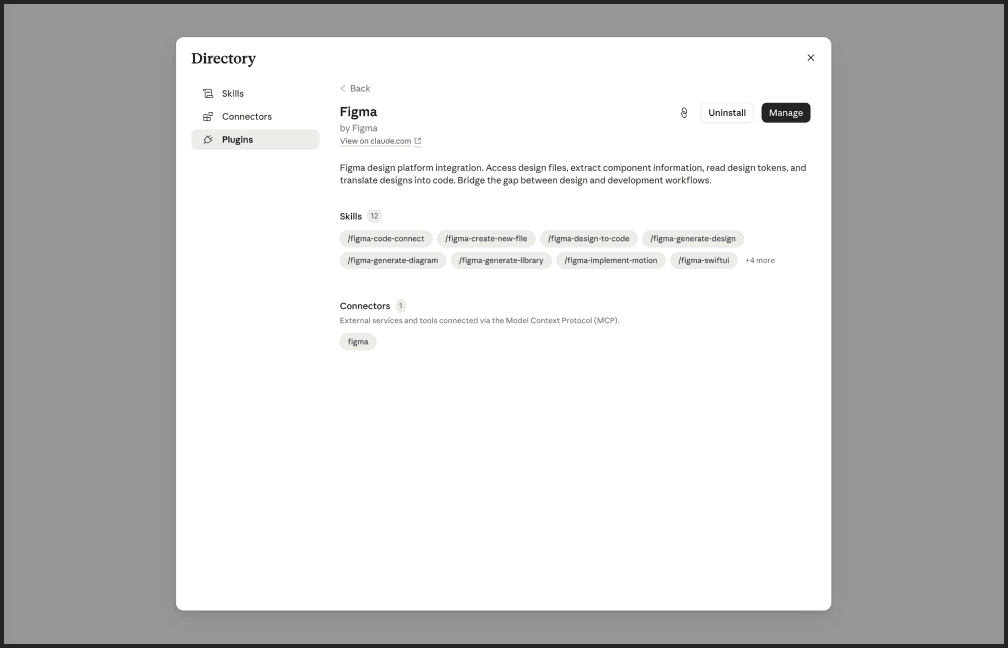
Confirm Desktop Connect
Figma MCP is now connected!
Created by @ux.edward